Last week I made a big push on the Tsukagawa Deuce. It actually was 8 days straight, about 75 hours of labor total. It might be hard to imagine the work you see took that much time but to end up with this level of fit, finish and functionality really does take a ton of time.
The main thrust of this stage was to wire the entire car and get it running. I normally use the EZ wiring harnesses with all my complete wiring jobs, it's an easy solution that offers every circuit one could possibly need along with modern packaging and easy to understand GM color coding. For this project, I required far fewer circuits and I also wanted to maintain a period correct flavor. This meant using cloth covered wire, oil cloth loom and glass fuses. I also wanted to hide the wiring as much as possible. All of these factors meant I had to build a harness from scratch.
I started with an 8 circuit Lucas fuse panel from a 1950's British sports car. All the wire routing is hidden, but it took a lot of time to figure out the easiest way to create the required circuits and the best way to rout the wires so they would be hidden. All in all a lot of work to make something that ultimately can't be seen.
After six straight days and about 65 hours of work I was ready to give it a whirl. Flipped the power switch, hit the start button and it barked right off! The John Beck built flathead ran perfectly.
I'm still chasing some issues like a real annoying fuel leak under the car and a noisy fuel pump, but all in all this is a big milestone in a three year project. The car will definitely make appearances this season.
 |
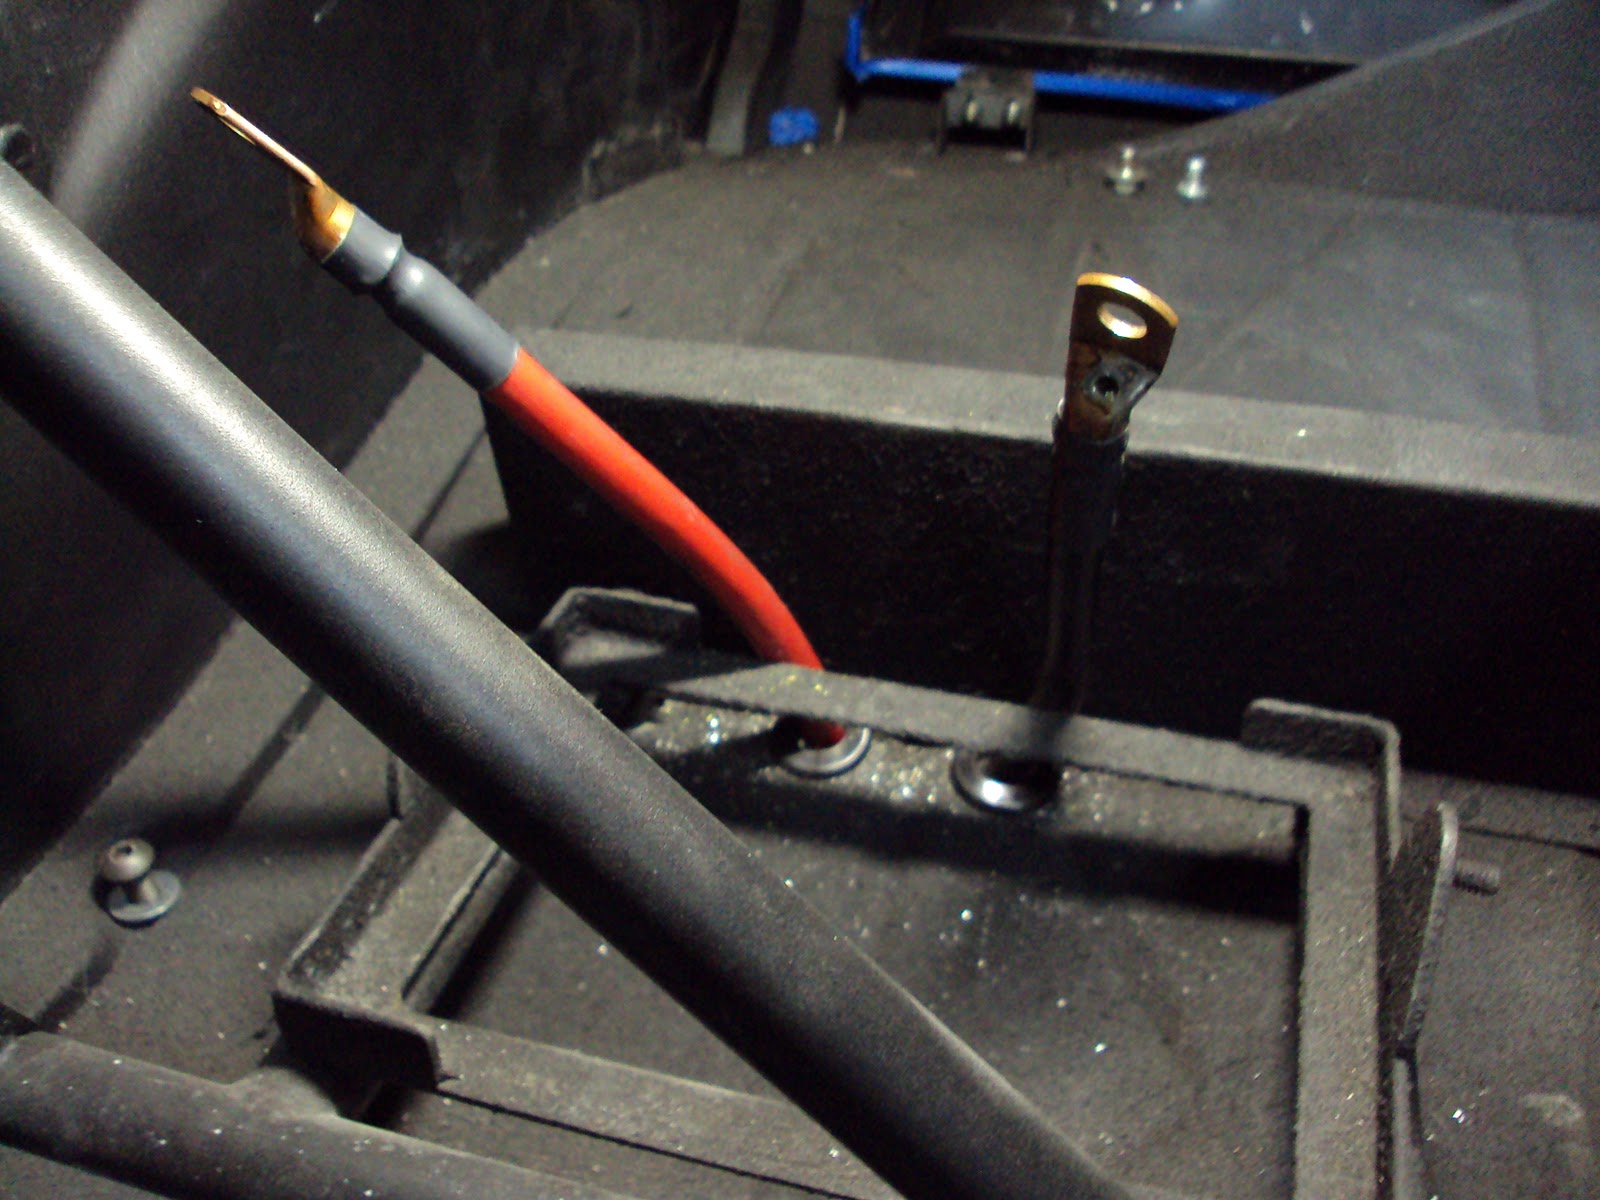
| I started by running the main power and ground cables. These are large 00 gauge cables, I like to use this size to eliminate any ground or power feed issues. |
 |
| And here they are neatly connected to the battery. |
 |
| I mounted the Lucas fuse panel and began running the wires, one by one. I ran all the under dash wiring first. Here are circuits for the ammeter, the fuel gauge, the main power switch, the start button and the turn signal wiring. You can also see the restored Arvin heater in this photo. |
 |
| Here is the wiring being run for the rear section (tail lights, gas gauge sender, fuel pump, turn signals) and front section (headlights, horn, fan, turn signals). Again, these wires are run one by one and routed through the oil cloth wire loom. |
 |
| I also made the spark plug wires, they are cloth covered and copper cored. |
 |
| Here's a finished section, routed behind the motor and loomed in oil cloth with heat shrunk ends. |
 |
| I used an original style Ford 6 volt starter relay. Since it is momentary and rated for high amperage it doesn't care if it sees 6 volts or 12. It also has a button on it so you can bump the motor over when you're working under the hood. Also note the large braided steel ground strap, I installed three of these from motor to frame and body to frame. Builders often forget that the ground side of a circuit is important. |
 |
| Looking much tidier, the dash and gauges are in place for good. Only a few wires left to connect. |


No comments:
Post a Comment